![[object Object]](https://imgs.michaels.com/MAM/assets/1/5E3C12034D34434F8A9BAAFDDF0F8E1B/img/DB44D4B35F2B4961924CCBAF47809B3F/B_88758_1.gif)
Bunny Clay Pot
![[object Object]](https://imgs.michaels.com/MAM/assets/1/5E3C12034D34434F8A9BAAFDDF0F8E1B/img/DB44D4B35F2B4961924CCBAF47809B3F/B_88758_1.gif)
At a Glance
About 30 minutes
Category: Kids
Beginner
Share
Share

Instructions
Download Instructions
ADDITIONAL MATERIALS
Computer
printer
pencil
paper plate (or paint palette)
Materials You Need
(7)
Flat Back Wiggle Eyes Value Pack by Creatology™
$2.99
30% Off Every Regular Price Purchase with code MAY30OFF Online only
1 Required
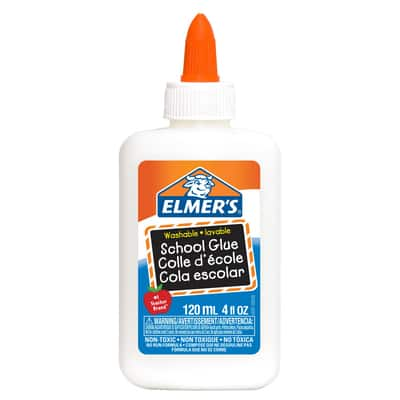
Elmer's® Washable School Glue
$2.99
30% Off Every Regular Price Purchase with code MAY30OFF Online only
1 Required
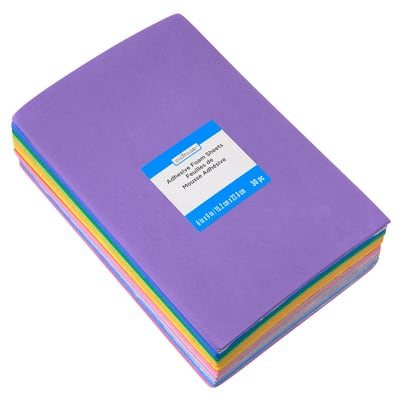
Brights 6" x 9" Adhesive Foam Sheets Value Pack by Creatology™, 30 Sheets
$9.99
30% Off Every Regular Price Purchase with code MAY30OFF Online only
1 Required
Clay Pot by Ashland®
$2.49
30% Off Every Regular Price Purchase with code MAY30OFF Online only
1 Required
9" x 12" Thick Foam Sheet by Creatology™
$1.19
30% Off Every Regular Price Purchase with code MAY30OFF Online only
1 Required
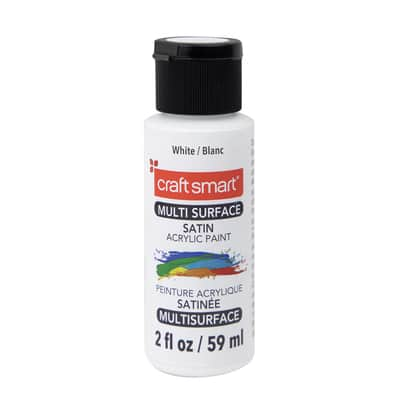
2oz. Multi-Surface Premium Satin Acrylic Paint by Craft Smart®
$1.99
30% Off Every Regular Price Purchase with code MAY30OFF Online only
1 Required
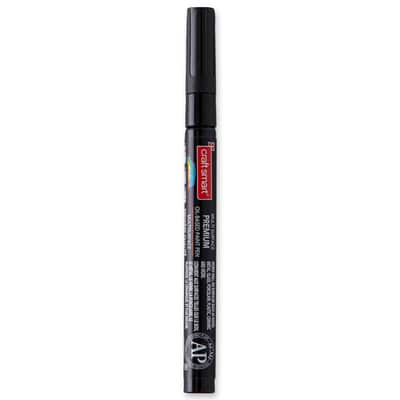
Extra Fine Tip Multi-Surface Premium Paint Pen by Craft Smart®
$5.99
30% Off Every Regular Price Purchase with code MAY30OFF Online only
1 Required
Materials Items:
$0.00
Tools You Need
(2)
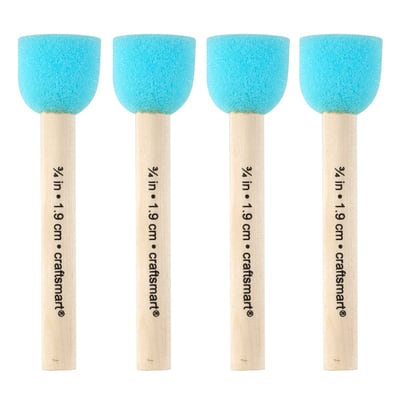
3/4" Foam Stippler Set by Craft Smart®
$6.49
30% Off Every Regular Price Purchase with code MAY30OFF Online only
1 Required
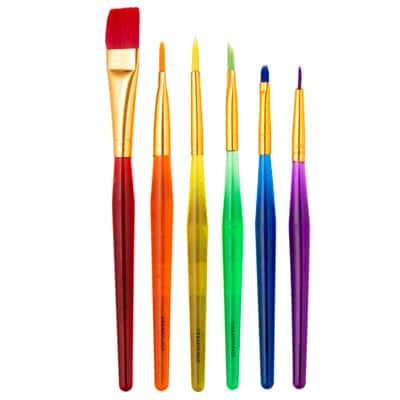
6 ct. Taklon Bristle Paintbrushes by Creatology™
$4.99
30% Off Every Regular Price Purchase with code MAY30OFF Online only
1 Required
Total Items:
$0.00
We would love to hear from you!


