
![[object Object]](https://imgs.michaels.com/MAM/assets/1/726D45CA1C364650A39CD1B336F03305/img/9BA592BF749448C281D4FBD1D32C6670/WR59661_1079937.jpg)
Clay Pots with Initials
At a Glance
About 30 minutes
Category: Home Décor
Beginner
Share
Share
Instructions
ADDITIONAL MATERIALS
Craft knife
Hazel & ruby sticker masks (sku 10396636)
Paper plate (or palette paper)
General purpose sandpaper
Patio paint outdoor™ – cloud white (sku 10216543)
Materials You Need
(5)
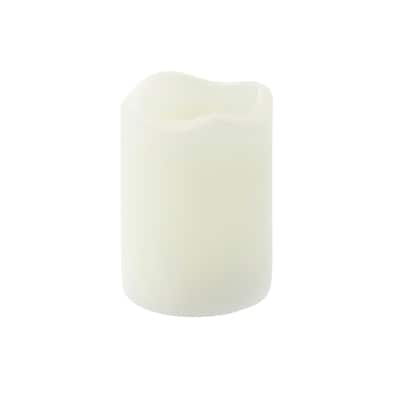
Flameless Real Wax Votives, Vanilla
$15.99
30% Off Every Regular Price Purchase with code MAY30OFF Online only
1 Required
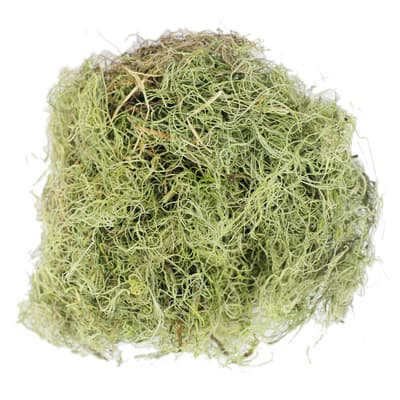
Basil Green Spanish Moss by Ashland®
$8.99
30% Off Every Regular Price Purchase with code MAY30OFF Online only
1 Required
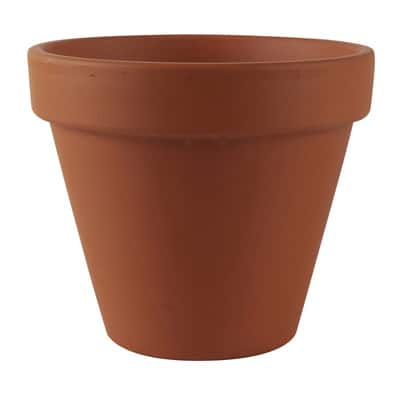
Clay Pot by Ashland®
$2.99
30% Off Every Regular Price Purchase with code MAY30OFF Online only
1 Required

FloraCraft® FloraFōM Cone Green
$3.99
30% Off Every Regular Price Purchase with code MAY30OFF Online only
1 Required
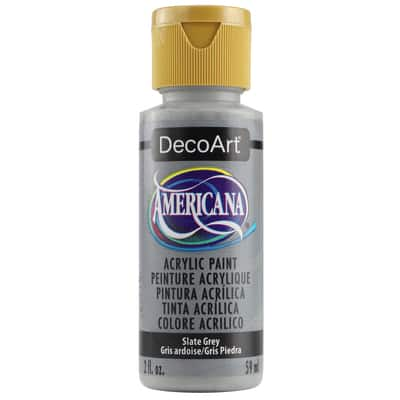
Americana® Acrylic Paint, 2oz.
$1.59
30% Off Every Regular Price Purchase with code MAY30OFF Online only
1 Required
Materials Items:
$0.00
Tools You Need
(2)
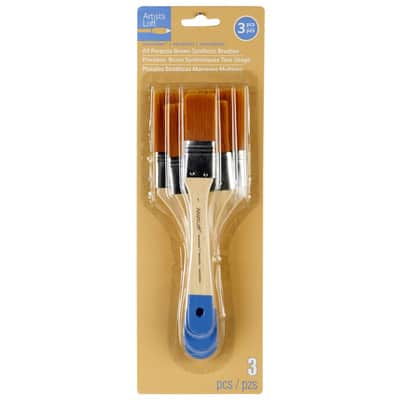
All-Purpose Brown Synthetic Brushes by Artist's Loft® Necessities™
$7.99
30% Off Every Regular Price Purchase with code MAY30OFF Online only
1 Required
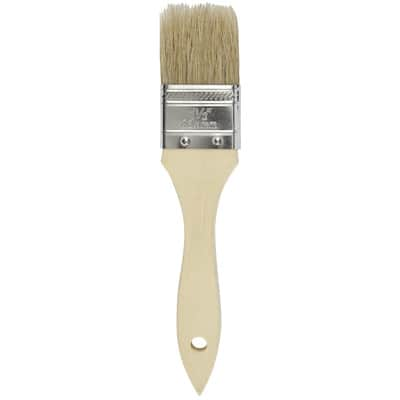
Chip Brush by Craft Smart®
$1.19
30% Off Every Regular Price Purchase with code MAY30OFF Online only
1 Required
Total Items:
$0.00
We would love to hear from you!