
![[object Object]](https://imgs.michaels.com/MAM/assets/1/726D45CA1C364650A39CD1B336F03305/img/B3D0B9B7D72C4989B0D13D5F34C12FB3/WR80848_Foam-Rocket-Ship.jpg)
Life on Pluto: Foam Rocket Ship
At a Glance
About 30 minutes
Category: Kids
Beginner
Your kids will love this out of this world Camp Creativity Craft.
Share
Share
Instructions
ADDITIONAL MATERIALS
Computer
Printer
Pencil
Materials You Need
(4)
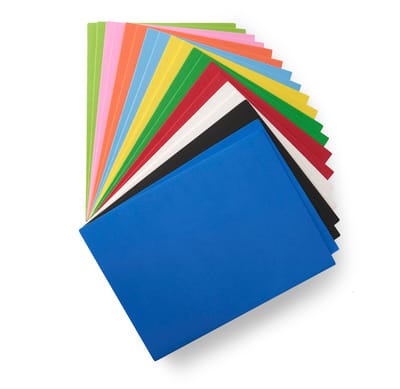
9" x 12" Foam Sheets Value Pack by Creatology
$8.99
30% OFF EVERY REGULAR PRICE PURCHASE WITH CODE MAYSAV30 Online only
1 Required
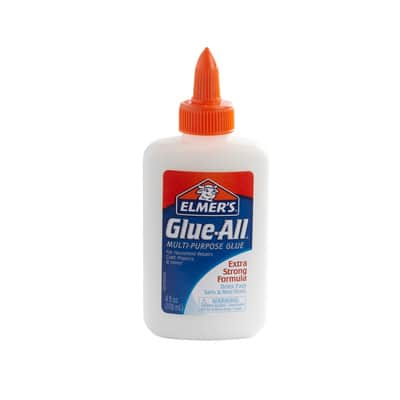
Elmer's® Glue-All® Multi-Purpose Liquid Glue, Extra Strong
$3.49
30% OFF EVERY REGULAR PRICE PURCHASE WITH CODE MAYSAV30 Online only
1 Required
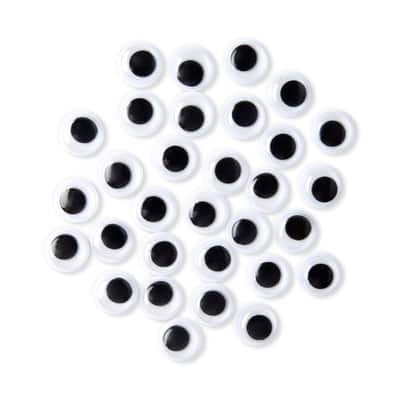
Creatology™ Wiggle Eyes, Flat Back
$3.29
30% OFF EVERY REGULAR PRICE PURCHASE WITH CODE MAYSAV30 Online only
1 Required
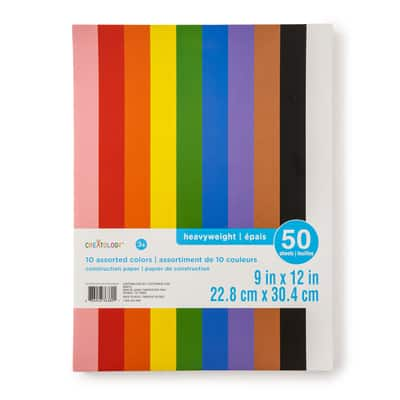
Creatology® 9"""" x 12"""" Construction Paper, Assorted Colors
$2.49
30% OFF EVERY REGULAR PRICE PURCHASE WITH CODE MAYSAV30 Online only
1 Required
Materials Items:
$0.00
Tools You Need
(0)