
![[object Object]](https://imgs.michaels.com/MAM/assets/1/726D45CA1C364650A39CD1B336F03305/img/46B3EA11AB064ABC99CB2AC489924988/WR83196.jpg)
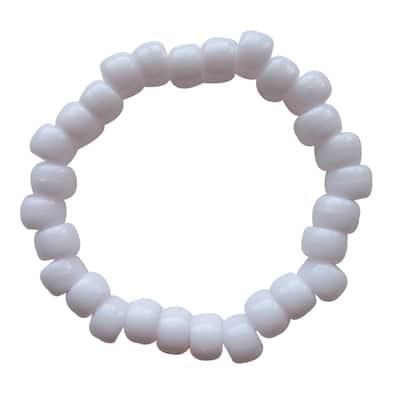
Pony Bead Bracelet
At a Glance
15 minutes or less
Category: Kids
Beginner
Thank you for crafting with Michaels.
Share
Share
Instructions
ADDITIONAL MATERIALS
Materials You Need
(4)
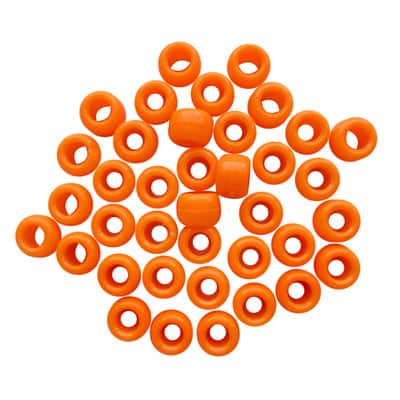
Opaque Pony Beads by Creatology™, 6mm x 9mm
$5.99
30% Off Every Regular Price Purchase with code MAY30OFF Online only
1 Required
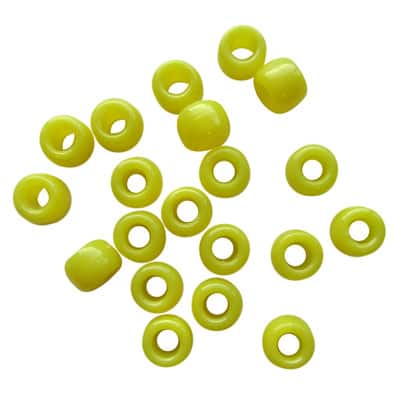
Opaque Pony Beads by Creatology™, 6mm x 9mm
$5.99
30% Off Every Regular Price Purchase with code MAY30OFF Online only
1 Required
Opaque Pony Beads by Creatology™, 6mm x 9mm
$5.99
30% Off Every Regular Price Purchase with code MAY30OFF Online only
1 Required

Sparkle Elastic Cord Pack by Creatology™
$5.99
30% Off Every Regular Price Purchase with code MAY30OFF Online only
1 Required
Materials Items:
$0.00
Tools You Need
(0)
We would love to hear from you!