Beginner
You're new to the skills necessary to complete this project, or maybe you've tried them just once or twice before.
Step 1 |
Project Notes:
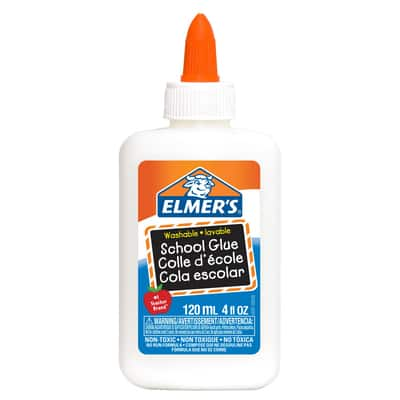
First, use one bottle of white glue to make a batch of your favorite white glue slime recipe. Place the white slime in the center of a piece of non-stick paper (e.g., parchment paper or wax (or palette) paper. Let it slowly spread out into an oval-ish shape. TIP: Elmer’s® has some great recipes; click here to download. |
Step 2 |
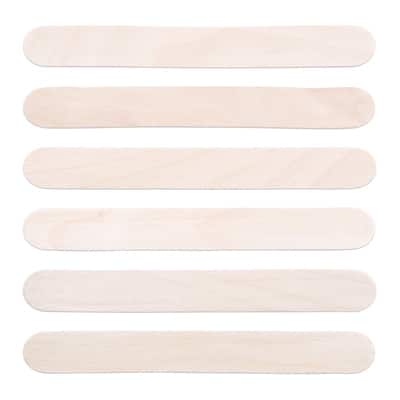
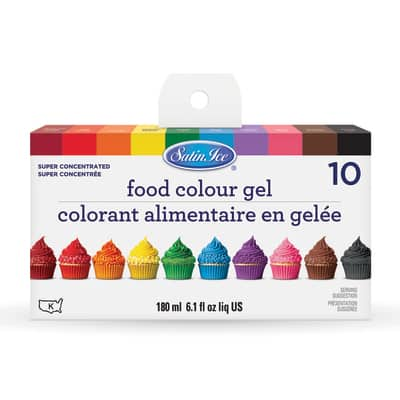
Pink Slime: Use one half bottle of white glue to make slime according to your recipe. To get the color shown, add Pink candy food coloring to the glue. TIP: Dip a craft stick into the food coloring jar and then mix it into the glue, according to your recipe’s instructions. |
Step 3 |
Yellow Slime: Use one half bottle of white glue to make slime according to your recipe. To get the color shown, add Lemon Yellow gel food coloring to the glue. |
Step 4 |
Blue Slime: Use one half bottle of white glue to make slime according to your recipe. To get the color shown, add Sky Blue gel food coloring to the glue. |
Step 5 |
Purple Slime: Use one half bottle of white glue to make slime according to your recipe. To get the color shown, add Violet candy food coloring to the glue. |
Step 6 |
Once your colorful slimes are complete, take about half of the pink slime and roll it between your hands to make a long, thin strand. Place this strand along the length of the white slime. Repeat to add several more pink lines to the white slime. |
Step 7 |
Repeat Step 6 to add several lines of the other three colors to the white slime. When you’re finished, the slime should be vividly striped. Use the image as a guide. |
Step 8 |
Fold and twist the slime until you have blended the colors just the way you like. |
Step 9 |
Be sure to store your slime in an airtight, sealable container or re-sealable plastic bag. Share your project photos with #MakeItWithMichaels |
Supplies
Materials
Materials
https://www.michaels.com/unicorn-poop-slime/B_83475.html
Tools
Tools
https://www.michaels.com/elmers-washable-school-glue/10002329.html
You’ll Also Need
- Wax (or Palette) Paper
- Parchment Paper
Instructions
Step 1 |
Project Notes:
First, use one bottle of white glue to make a batch of your favorite white glue slime recipe. Place the white slime in the center of a piece of non-stick paper (e.g., parchment paper or wax (or palette) paper. Let it slowly spread out into an oval-ish shape. TIP: Elmer’s® has some great recipes; click here to download. |
Step 2 |
Pink Slime: Use one half bottle of white glue to make slime according to your recipe. To get the color shown, add Pink candy food coloring to the glue. TIP: Dip a craft stick into the food coloring jar and then mix it into the glue, according to your recipe’s instructions. |
Step 3 |
Yellow Slime: Use one half bottle of white glue to make slime according to your recipe. To get the color shown, add Lemon Yellow gel food coloring to the glue. |
Step 4 |
Blue Slime: Use one half bottle of white glue to make slime according to your recipe. To get the color shown, add Sky Blue gel food coloring to the glue. |
Step 5 |
Purple Slime: Use one half bottle of white glue to make slime according to your recipe. To get the color shown, add Violet candy food coloring to the glue. |
Step 6 |
Once your colorful slimes are complete, take about half of the pink slime and roll it between your hands to make a long, thin strand. Place this strand along the length of the white slime. Repeat to add several more pink lines to the white slime. |
Step 7 |
Repeat Step 6 to add several lines of the other three colors to the white slime. When you’re finished, the slime should be vividly striped. Use the image as a guide. |
Step 8 |
Fold and twist the slime until you have blended the colors just the way you like. |
Step 9 |
Be sure to store your slime in an airtight, sealable container or re-sealable plastic bag. Share your project photos with #MakeItWithMichaels |