
![[object Object]](https://imgs.michaels.com/6988c612-38fd-418a-baef-7249aef29bab.gif)
Yarn-Wrapped Rainbow Wall Hanging
At a Glance
Over an hour
Category: Yarn
Intermediate
Share
Share
Instructions
ADDITIONAL MATERIALS
Ruler
Materials You Need
(12)
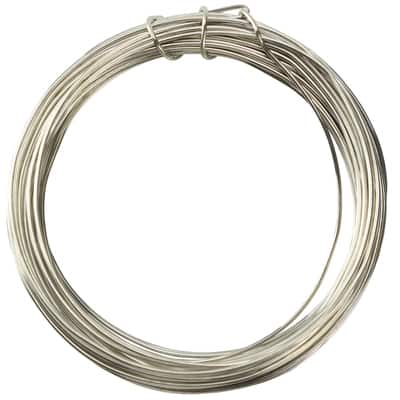
20 Gauge Colored Copper Wire by Bead Landing™
$5.49
40% off every regular price purchase with code FLASH40
1 Required
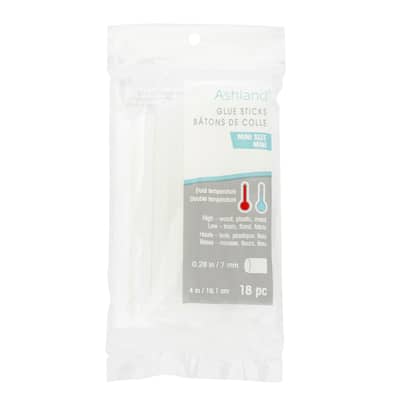
4" Mini Dual Temperature Glue Sticks by Ashland®
$2.49
40% off every regular price purchase with code FLASH40
1 Required
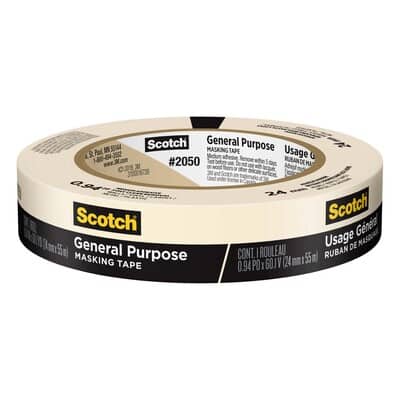
Scotch® General Purpose Masking Tape
$6.99
40% off every regular price purchase with code FLASH40
1 Required
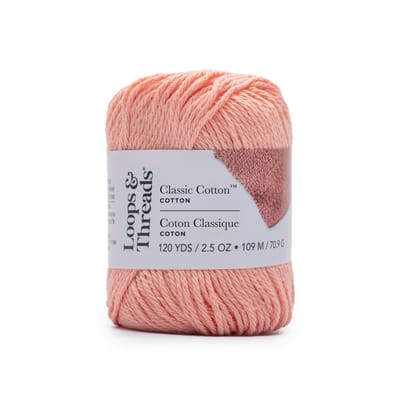
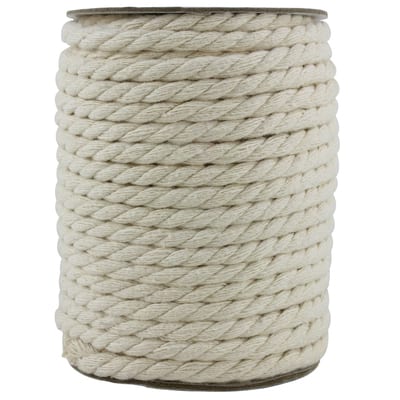
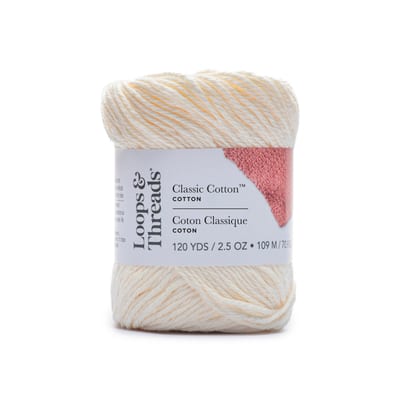
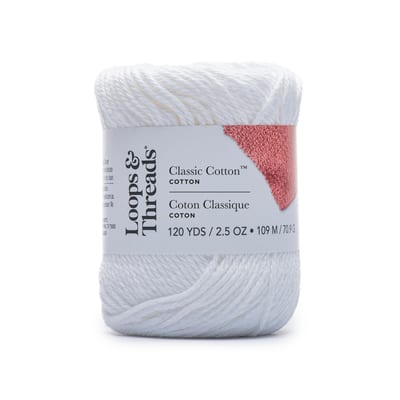
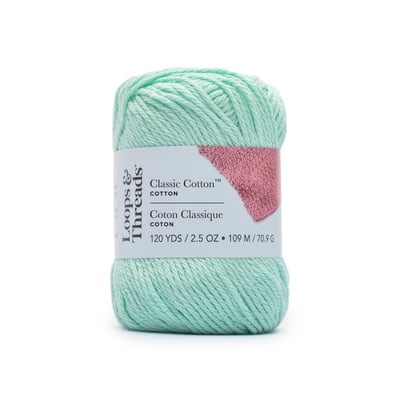
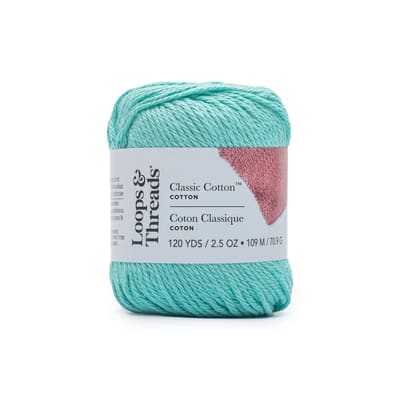
Bead Landing™ Cotton Rope Value Pack
$12.49
40% off every regular price purchase with code FLASH40
1 Required
Materials Items:
$0.00
Tools You Need
(2)
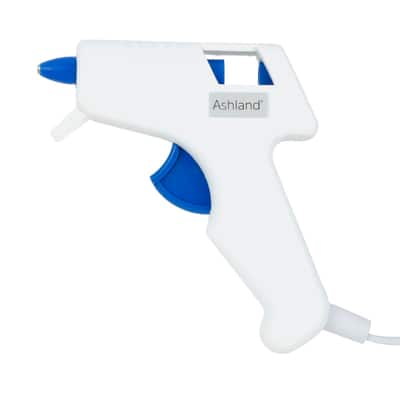
Mini Low Temperature Glue Gun by Ashland®
$3.79
40% off every regular price purchase with code FLASH40
1 Required

8" Straight Scissors by Loops & Threads®
$8.99
40% off every regular price purchase with code FLASH40
1 Required
Total Items:
$0.00
We would love to hear from you!