


How to Take Great Product Photos
No experience? No problem! Follow these tips and tricks to capture stunning product photos and boost your sales.

Did you know that 87% of consumers say that product photography is extremely important in making a decision to purchase online?
With these tips, tools, and best practices, you can be taking product photos like a pro soon too.


#1: Establish a consistent photography look and style

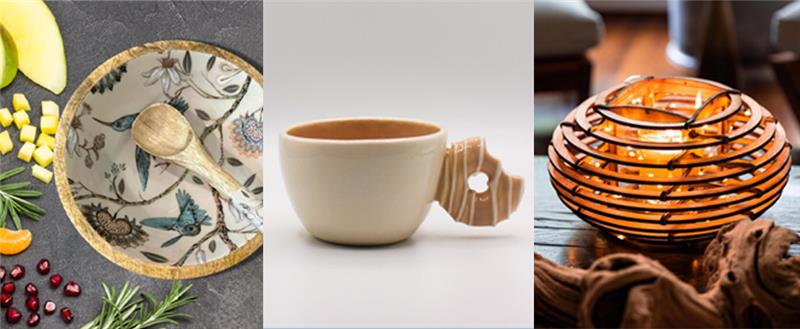
- Your photography should reflect your brand aesthetics. Are your products minimalistic and sophisticated? Organic and natural? Bold, colorful and bright? Make sure your photography captures whatever your brand represents. It's also helpful to establish a consistent look in lighting, backgrounds, and angles. Use the same cropping or adjustments for a cohesive and professional look.
- Not sure what style you like? Research product photography trends, or simply search for your favorite brands and product photos. Make a Pinterest board of your favorite product photos, and then look for what they all have in common.

#2: Set Up the Scene
- Choose good lighthing. It highlights product features, enhanes colors, and creates depth, making items more appealing to shoppers. Whenever possible, use open, natural light with soft, directional shadows. Take photographs during the day in a space with plenty of natural light but avoid direct sunlight.
- Set up a backdrop. Consider investing in a backdrop stand and seamless paper. Use a plain white or neutral-colored background to avoid any distractions from the product. Single-color backgrounds that complement the product or your brand aesthetic are also great to use.
- Use styling and props sparingly. Select props for lifestyle shots that complement and accessorize your product, rather than dominating the image. Although props and styling can reinforce your brand and set a mood, minimal styling is often best. Only use props to demonstrate how a product would function or be utilized, or to show it in a lifestyle setting so shoppers can imagine using it in their lives.

#3: Get Your Equipment Ready
- Prep your camera. Make sure your lens is clean, the camera is set to the highest resolution and the flash is off.
- Consider using a tripod. A tripod stabilizes your camera and ensures your product photographs are clear and consistent.


#4: Compose, Crop and Shoot Images
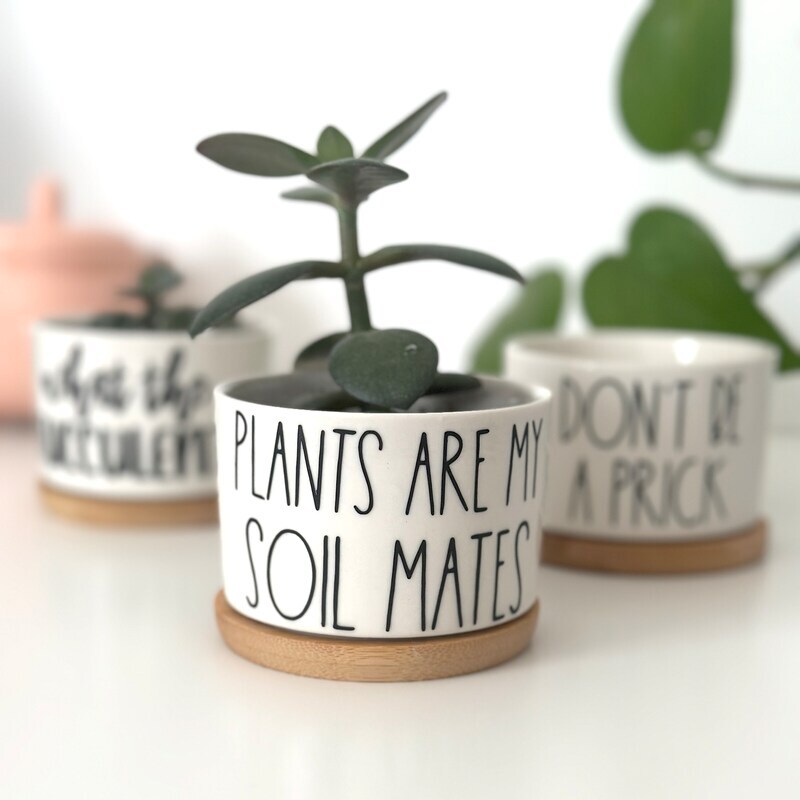
Keep the focus on your product. Your products should be shown on a simple background, especially for your primary product photo.
Crop your images to remove any distracting or unnecessary background elements, ensuring the product remains the main focus. The main product photo should have a tight crop, filling 80% of the frame.
Include photographs of the product in use to help customers visualize how it can be used. Lifestyle images show products in real-life scenarios, and help customers visualize how they could use the item. These images can evoke emotions and encourage purchases.
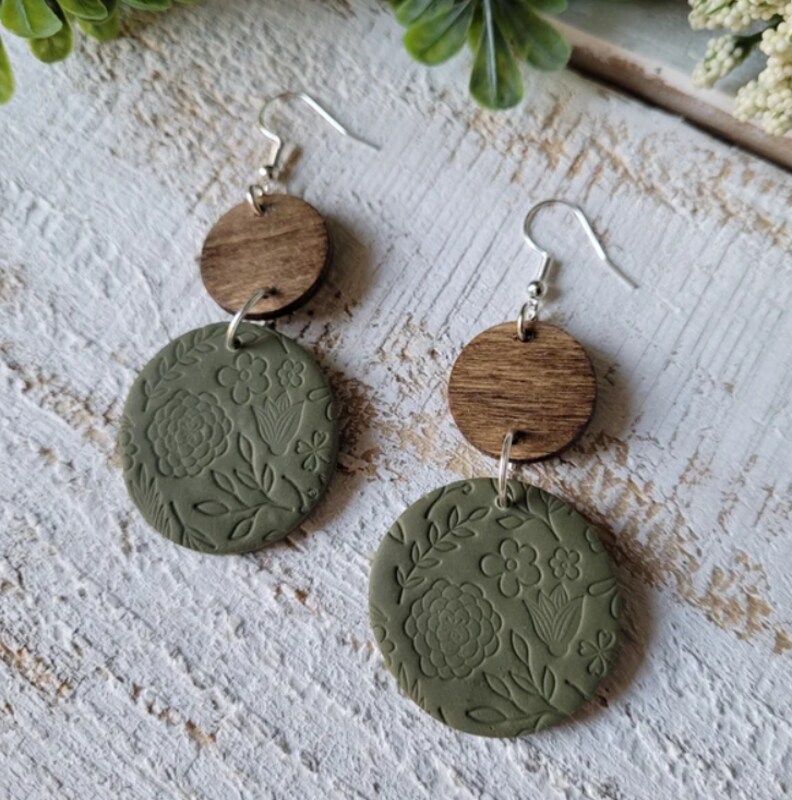
Additional photos should show the back or multiple sides of your item. Close-up shots should be used to highlight details and special features.
Use the rule of thirds. Envision an invisible grid of two equidistant vertical lines and two equidistant horizontal lines. There will be four intersecting points on the image. Position your products in those spaces. The eye is drawn to images in these positions.

Capture the Angles
Help shoppers see all of the details and make an informed decision


Give Shoppers a Clear Picture

Take a Simple Primary Photo
Make sure what your selling and what comes with the product is clear with your primary photo. Use minimal props and feature only what you're selling.

Help Shoppers Understand Scale
For other product photos, props create relatable context and hands give a sense of scale, making it easier to understand the product's size and usability.

Create a Lifestyle Setting
Use props to create a look and a connection for shoppers to help them visualize your product in their home.

Upload Your Photos
Once you've taken your photos, size them and upload them in the appropriate file format and sizes.

Get MakerPlace Product Image Specs


Bring Your Photos to Life
Include a video of your product. Show it in action. Give shoppers a 360-degree view so they can see all sides and angles. Add some emotion. But above all, make it brief: 30 seconds or less.


Create a DIY Photo Studio
Get everything you need to create beautiful product photos in your home, office or studio –– all from Michaels.com!